LED illumination to the hall
Zápisník experimentátora
In the apartment I bought, the hall was modified to create a small wardrobe. A wooden structure was mounted around the wardrobe at the ceiling, in which there were halogen lights. It did not work and after the inspection I found that the original solution was dangerous. That's why we've decided to change it and design our own LED lighting.
LED lights on the ceiling
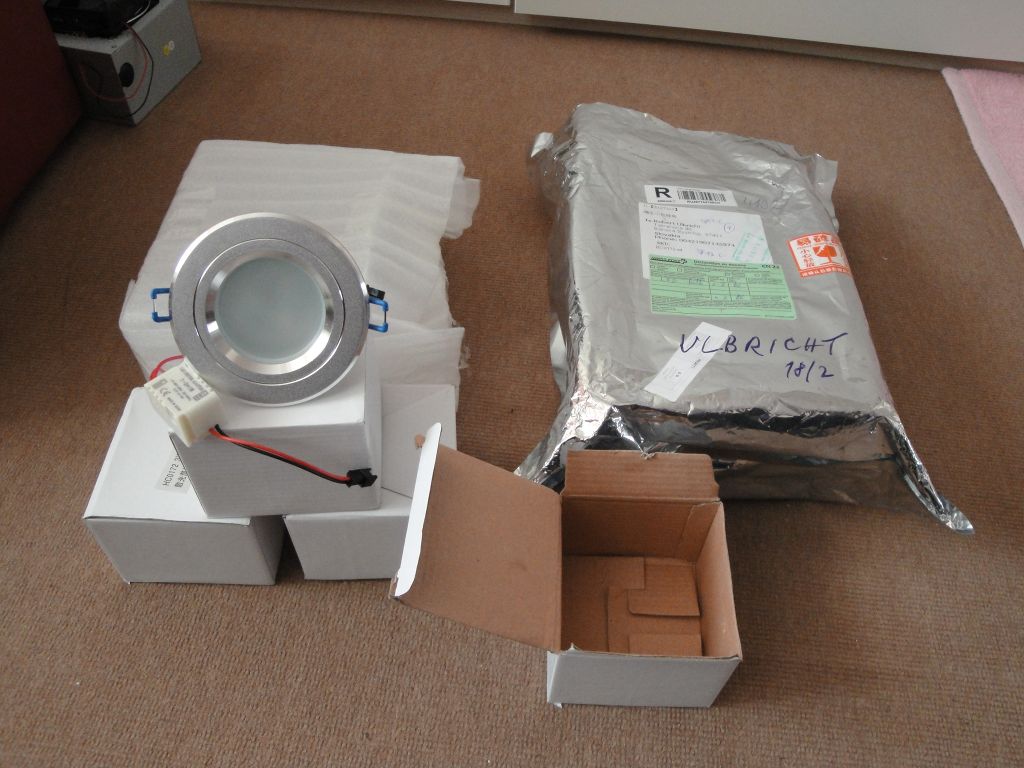
We bought these four nice aluminum matt lights. In China, they really wrapped it so that nothing happened to them. The Ebay buy went up to $ 30 for four and traveled one month.
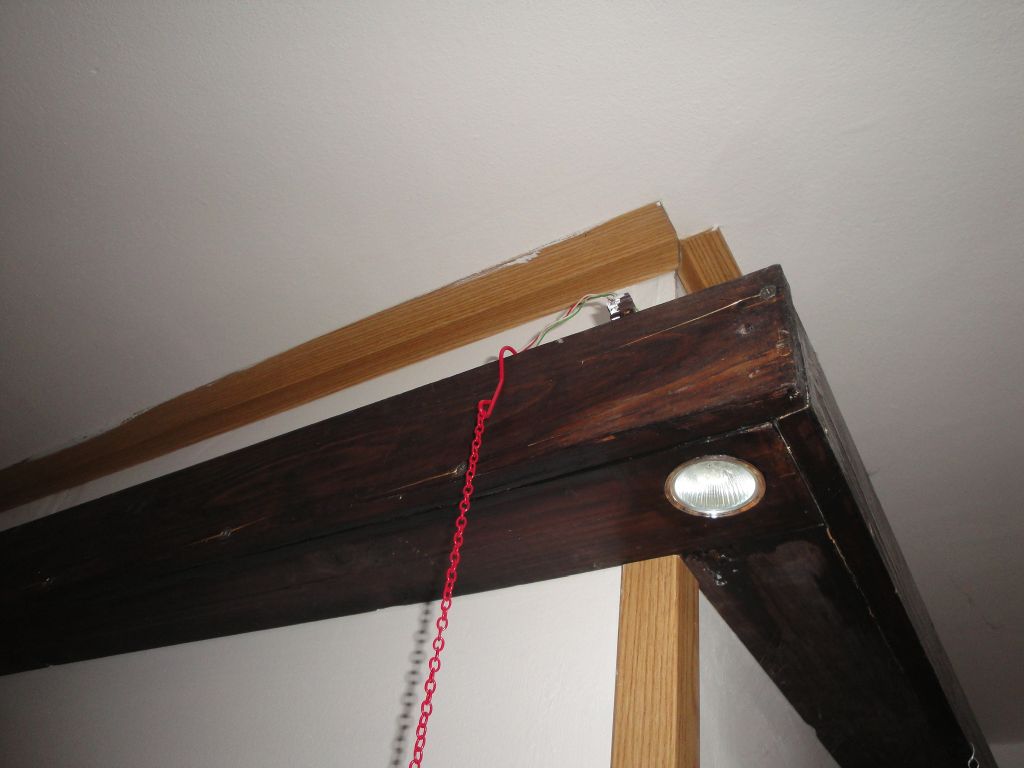
Original state
This is lighting in the original state. Halogen bulbs are glued directly to the wood with some glue. The ignition temperature of wood is 200-400 degrees celsius. In a halogen bulb, the temperature should be around 250 degrees celsius. I do not know if the previous tenant fumbled after switching on, but at first glance it looked dangerous.
Removal
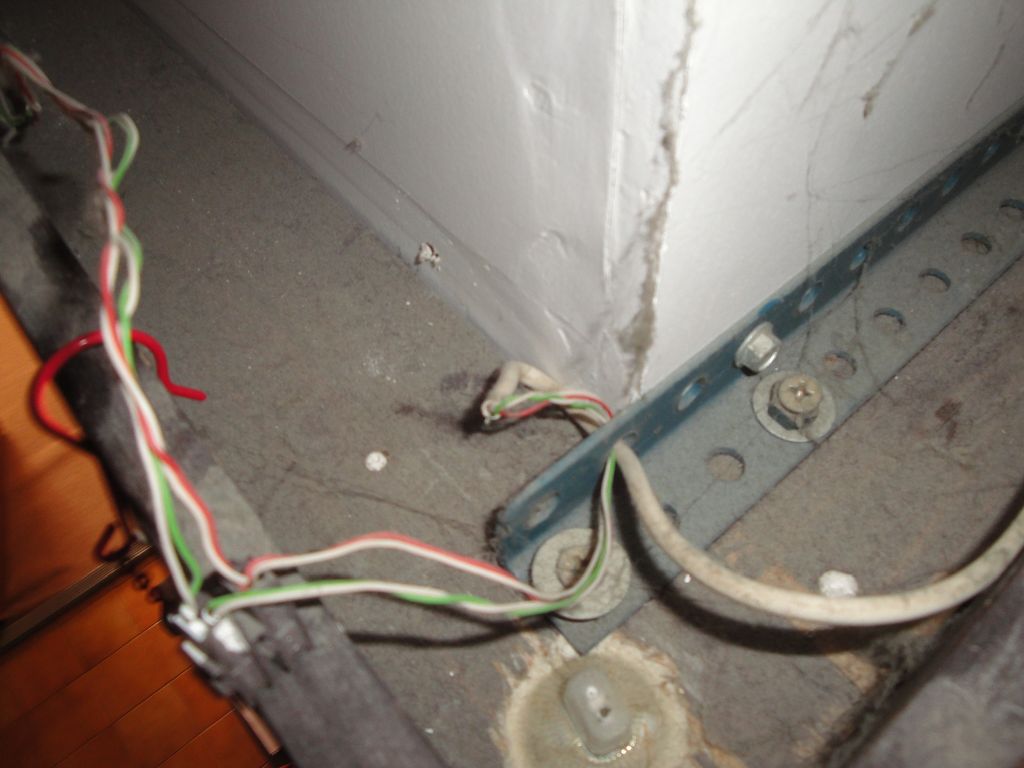
Removing from the wall was easy. Four screws, my wife held it at one end, and so we went down without injury. The cables that stick to some of the photographs on the wall were already cut off on the other side during the first reconstruction of the apartment, so I just drew them out of the wall and cut off the halogen bulbs.
I was joking about the fact that it did not blot out of it, and now I'm sure it smelled of it. Halogen bulbs were inserted into the GU5.3 socket and the previous owner mounted them using plastic chocolate (connectors). Some of the connectors had been really scraped off, so the heat from the halogen bulb was really intense.
The bulbs themselves were glued into the holes with some flexible silicone mass. It could be cut all the time and the bulbs were then removed from the holes.
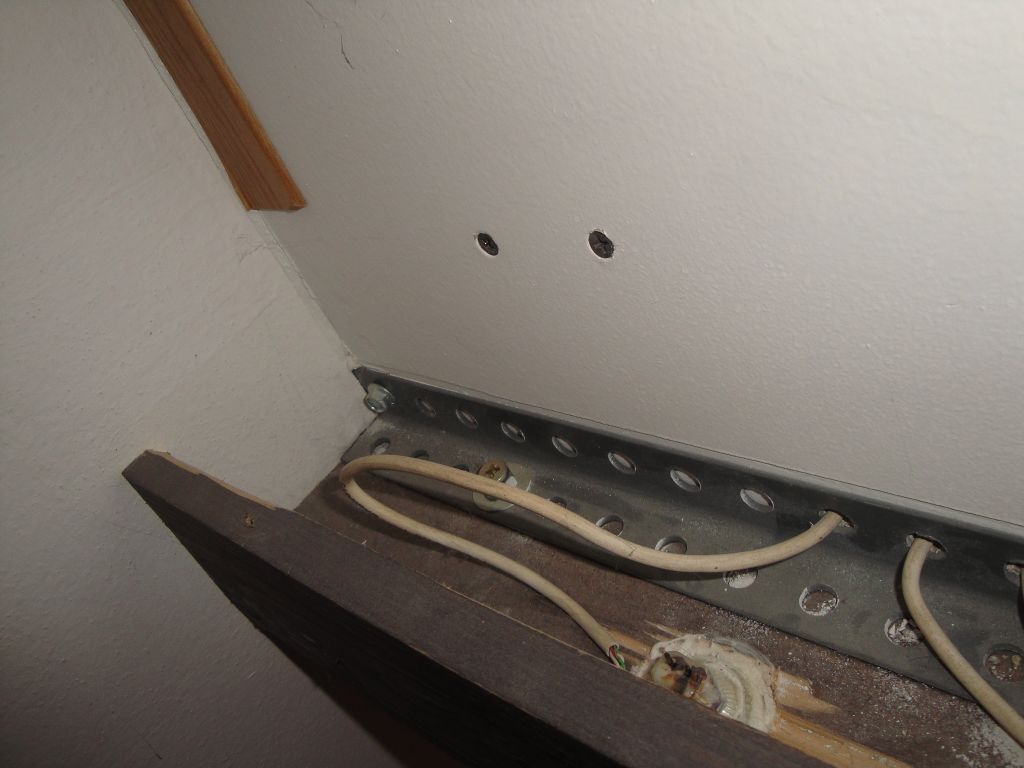
Magnification of holes in wood
LED lights need a slightly larger opening, so the holes have to be slightly enlarged. Drawing a paper template according to light was not a problem. Worse was the cut, but then it turned out that the father has an ideal tool and all holes were cut into the wood in 5 minutes.
There was one more problem. There was an opening on the corner, and after its magnification the light could not be inserted into it, because it was interfering with the metal angle. I removed the metal for about an hour. On the ladder with a glove and a saw blade for iron in one hand. Striking work, but eventually it did.
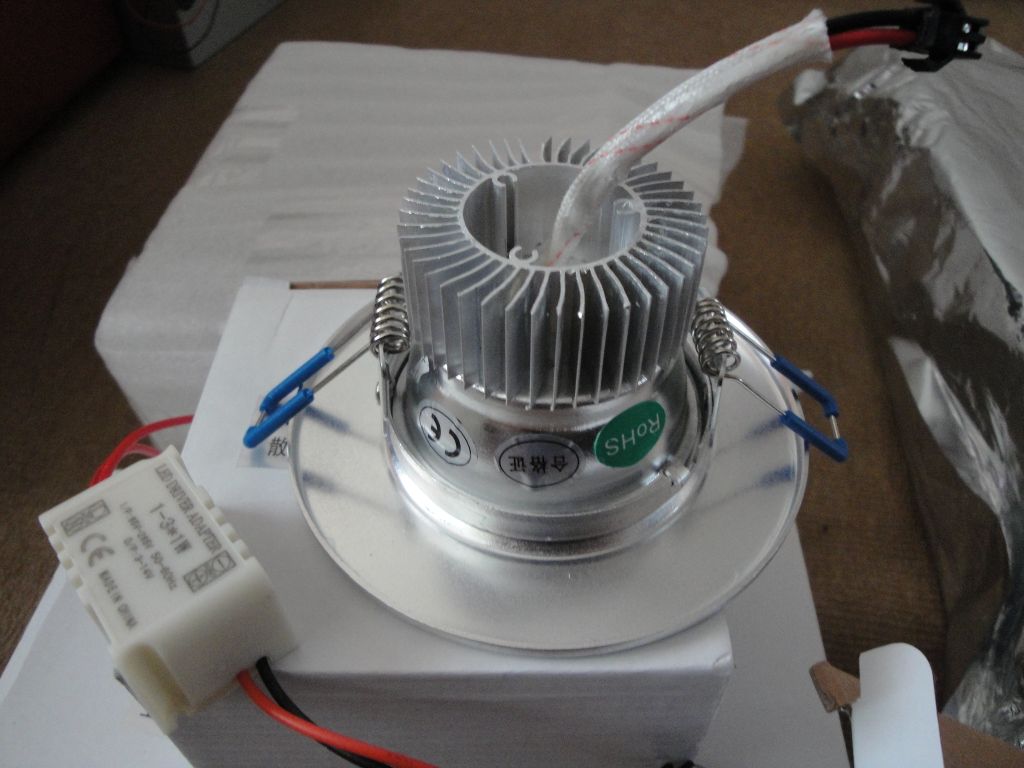
Engaging the lights
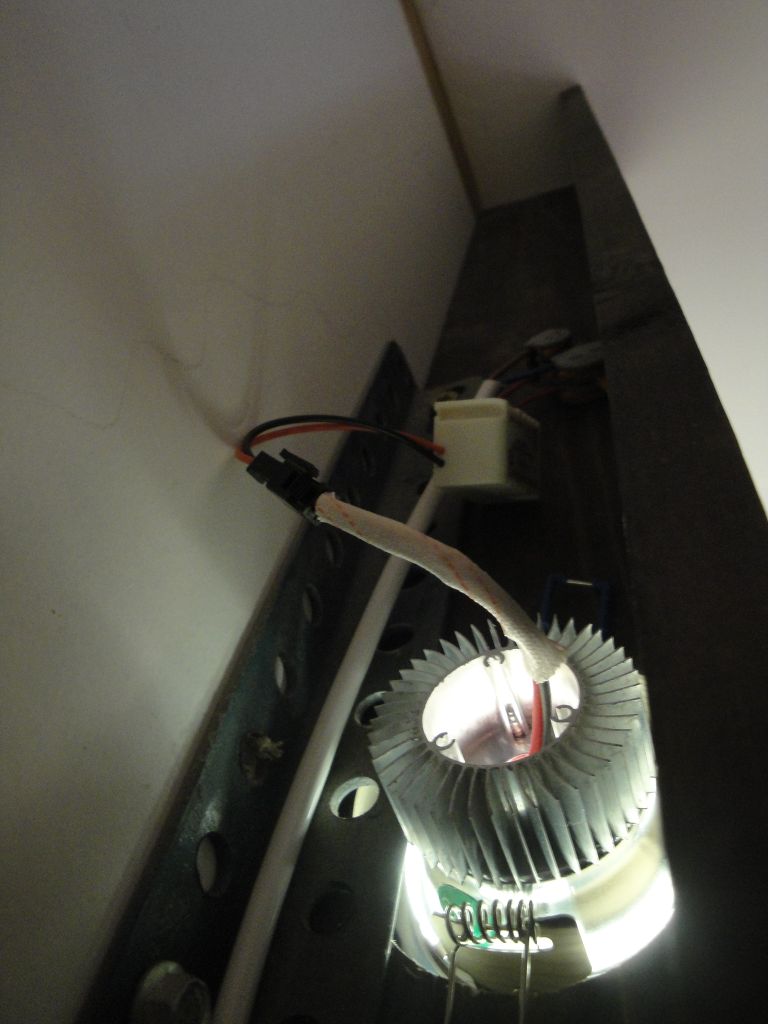
This type of powerful LED is powered by a constant current source, which should be around 300 mA. This is the little white cube, where there is some mysterious Chinese integrated circuit, coil and a couple of capacitors. The power supply is connected to the 220 V AC and, on the other hand, produces a constant current. This side is already connected to the LED itself in the light.
For my needs, it was enough to have a light switch from the wall behind the wall. It's made of plasterboard. That's why I drilled two holes in the wall (one at the top and the other behind the switch box). I switched the switch from single to double, interconnecting the phase so that the original circuit will be retained and a new circuit will be created up to the LED lights.
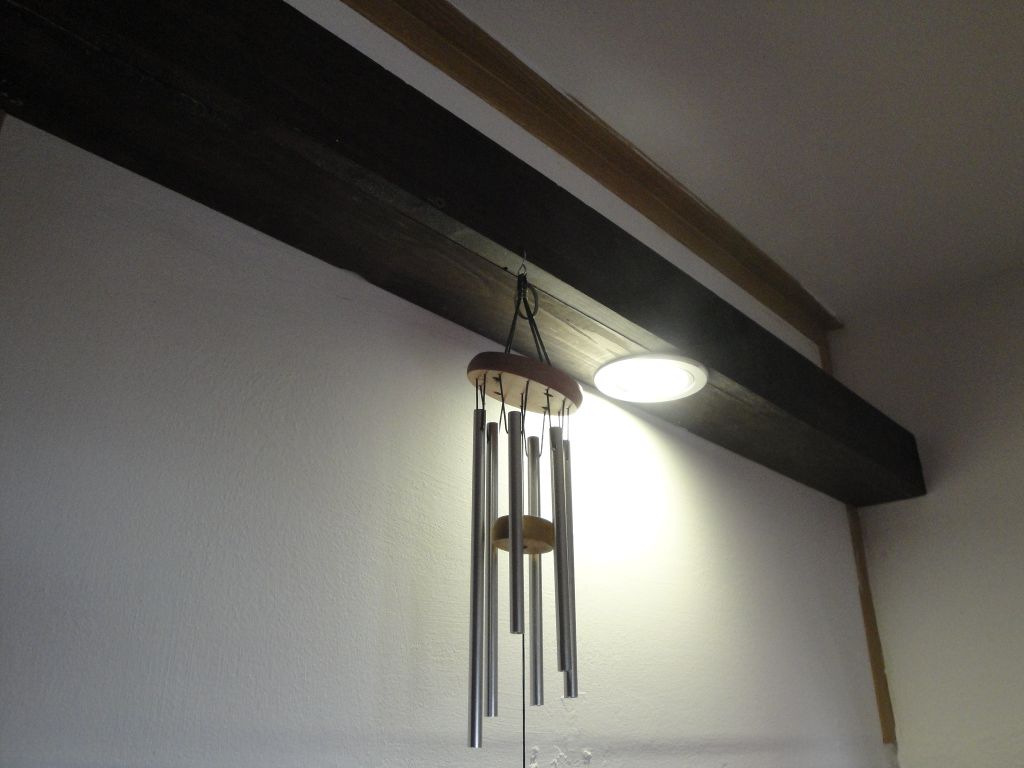
And then it was just up to the wooden construction to tie the wires using WAGO clamps with three holes and the light could be switched on. I've added some pictures that show the luminance of 3x1 W LEDs and a little bit unclear two WAGO clamps. China's lead-in wires could have been a bit thicker, but they could also be tightened by snapping clips.
Testing
I let the lights go on for an hour and then I tested their temperature. Thanks to the huge heatsink, the touch is just lukewarm, and also the constant current source that powers the LED light.
Three years later
We've been using the lights for three years, and it works without the any problems.
05.07.2017