ESP8266 - HTTP server with one page
Zápisník experimentátora
Hierarchy: ESP8266
In this article we will program the HTTP server using the ESP8266 microcontroller. It will be a simple HTTP server that provides one page. In the example, we'll show you how to program this server. We focus on making the source code easy to read. We will ignore most Internet examples that use unclear code or ignore the possibilities of modern C ++ compilers.
Used parts
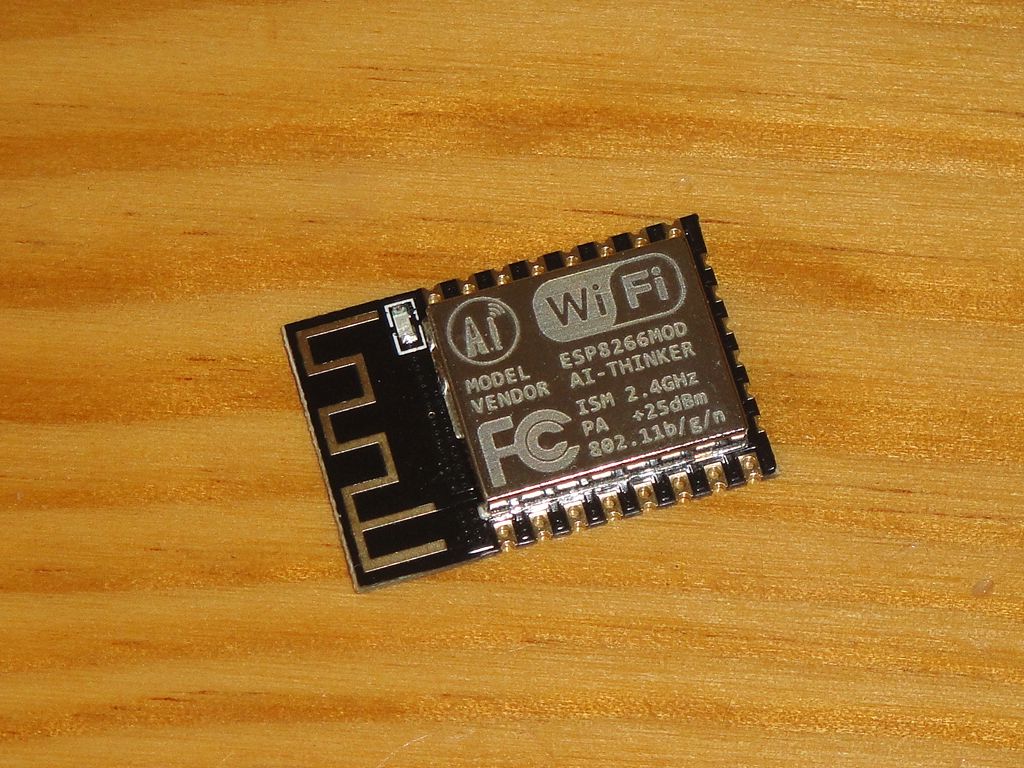
This is a simple project, so we will need some board with the ESP8266 microcontroller, which can be directly connected to USB. To avoid a possible short circuit, you can plug the board into a breadboard.
- ESP8266 {linkESP8266}
- Breadboard {linkBreadBoard}
Example
The example contains two files. In the first file, set up your WiFi login and password. The second file contains the webserver source code. The result is a browser page that looks like this.

arduino_secret.h
Add to this file your WiFi name and password. To be sure that you will not write your name and password directly into your source code, use the instructions in the article on Embedding the Macro Definition in the Arduino Program.
#if defined(_SSID)
  const char* ssid     = _SSID;
  const char* password = _PWD;
#else
  const char* ssid     = "your-ssid";
  const char* password = "your-password";
#endif
simple_http_server_onepage
This looks like the source code for the webserver. The htmlPage variable contains the HTML source of the page. On the Internet, there are many examples of how to write this with complicated strings. This is how you write it correctly and error-free, because you will use modern compiler possibilities that allow you to insert into the source code the string as if you were writing it to a separate file.
Into the browser, send the HTML page using handleRoot. It is important for the server to tell what URL this page is associated with. Use the command server.on("/", handleRoot);. The program on startup will print its IP address via the serial port. At this address, you can look at the final page.
#include <ESP8266WiFi.h>
#include <ESP8266WebServer.h>
#include "arduino_secret.h"

ESP8266WebServer server(80);

const char htmlPage[] PROGMEM = R"=====(
<html>
<head>
<meta http-equiv="content-type" content="text/html;charset=UTF-8">
<title>Hello from HTTP Server ESP8266</title>
<style>
p { text-indent: 30px; margin: 0px; }
</style>
</head>
<body>
    <h1>ESP8266 HTTP Server</h1>
    <p>Hello from ESP8266 HTTP Server.</p>
    <p>Copyright (C) 2019 <a href="https://www.arduinoslovakia.eu">Arduino Slovakia</a>.</p>
</body>
</html>
)=====";

void handleRoot() {
  Serial.println("GET /");
  server.send(200, "text/html", htmlPage);
}

void setup(void){
  Serial.begin(115200);
  WiFi.begin(ssid, password);
  Serial.println("");

  // Wait for connection
  while (WiFi.status() != WL_CONNECTED) {
    delay(500);
    Serial.print(".");
  }
  Serial.println("");
  Serial.print("Connected to ");
  Serial.println(ssid);
  Serial.print("IP address: ");
  Serial.println(WiFi.localIP());

  server.on("/", handleRoot);

  server.begin();
  Serial.println("HTTP server started");
}

void loop(void){
  server.handleClient();
}
Source code
The source code is located on the GitHub server.
21.05.2019