Arduino and OLED display 0.96
Zápisník experimentátora
Hierarchy: 0.96in 128x64 SPI OLED LCD Display
This article describes how to connect an OLED display to Arduino Uno. OLED display is 0.96 and SPI. I do not refer to the version for I2C in the article, but the only difference is the smaller number of connecting pins and slower speeds, so avoid this version.
Used parts
The following parts are used in the article:
- Arduino Pro Mini (link) - Classical small Arduino.
- 7pin 0.96 in SPI OLED 128x64 White (link) - It is important that the display be marked as SPI. These are significantly faster than the I2C versions. They are sold in three color modifications. White, blue and two-color. The display has a voltage of 5 V.
- Breadboard (link) - I use two miniature.
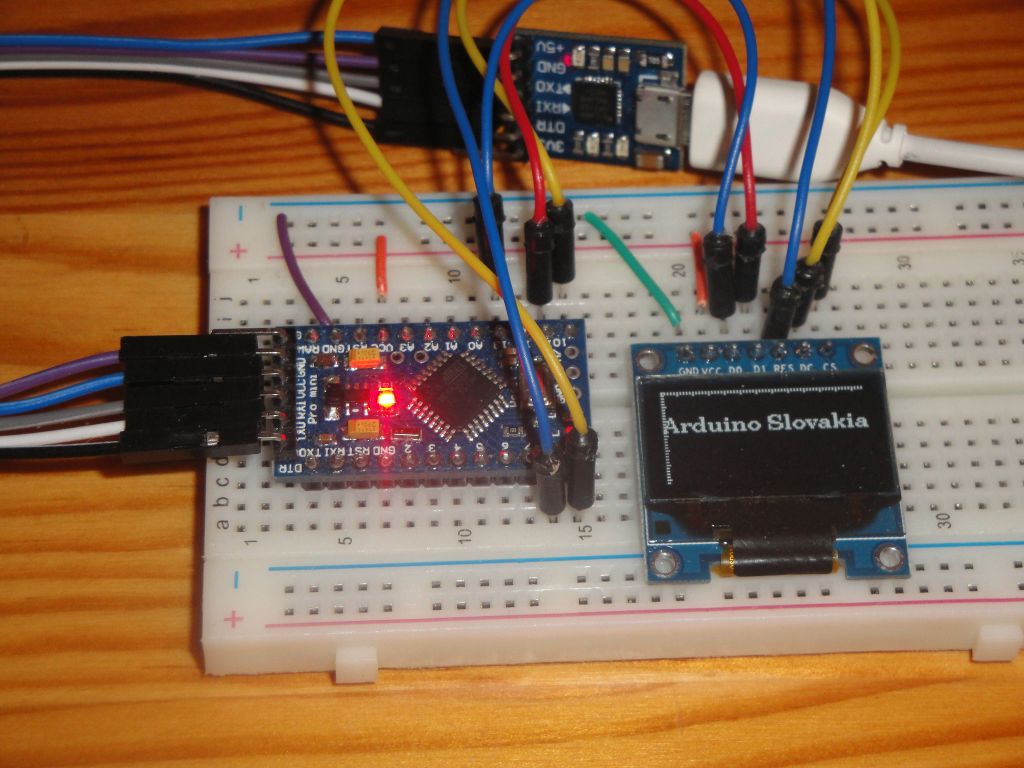
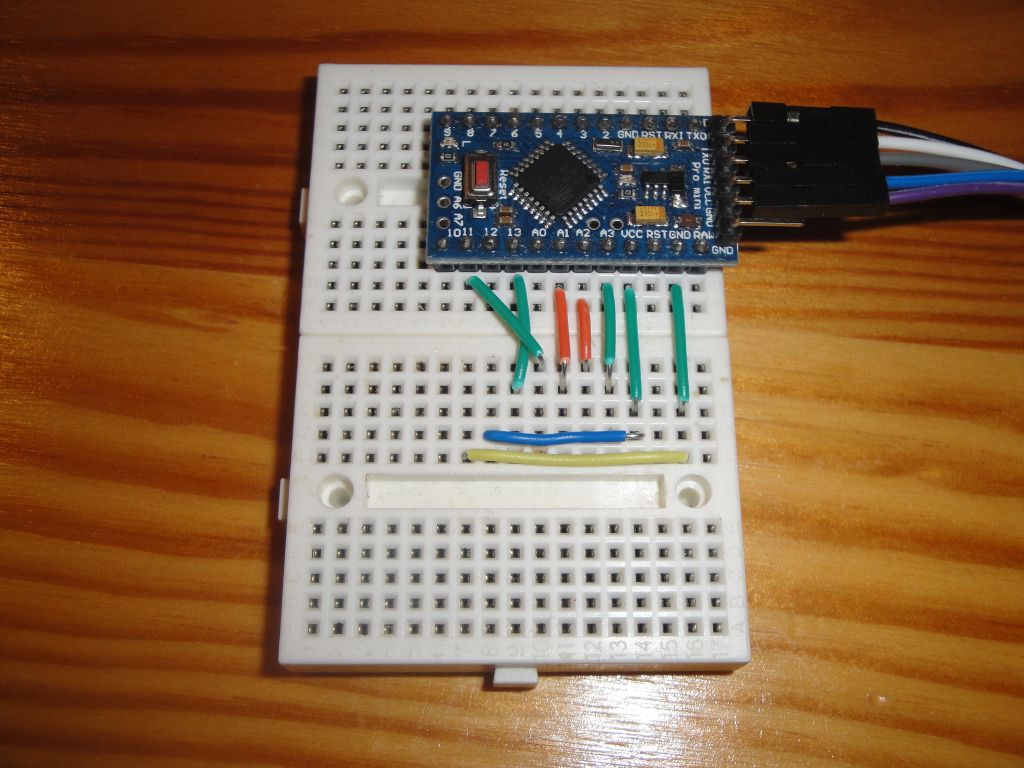
Connection of the circuit on breadboard
Connection on the breadboard is a little complicated. If we do not want to use interconnecting wires, but wire jumpers, we do not avoid several intersections. Therefore, it will not look as elegant as NodeMCU, which I demonstrated recently.
That is why I supply two alternatives that I have been able to design.
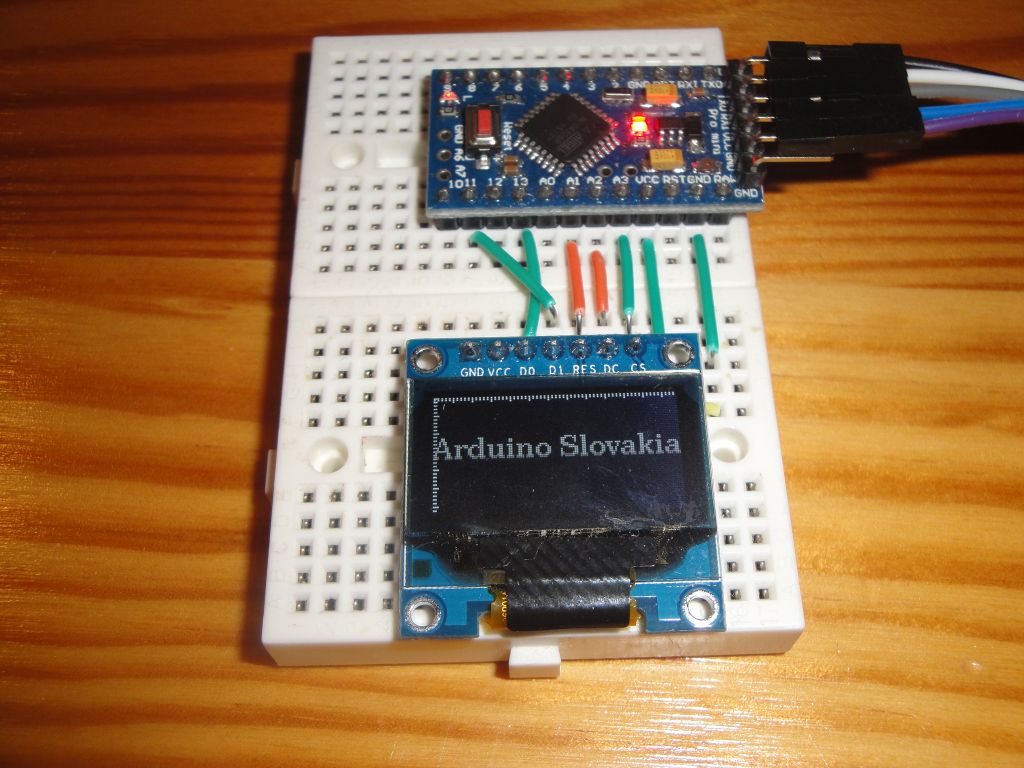
Alternative 1
This connection attempts to connect only with classical data wires 8, 9, 10, 11, 13.
| Arduino Pro Mini | OLED |
|---|---|
| GND | GND |
| VCC | VCC |
| 13 (CLK) | D0 |
| 11 (MOSI) | D1 |
| 8 | RES |
| 9 | DC |
| 10 | CS |
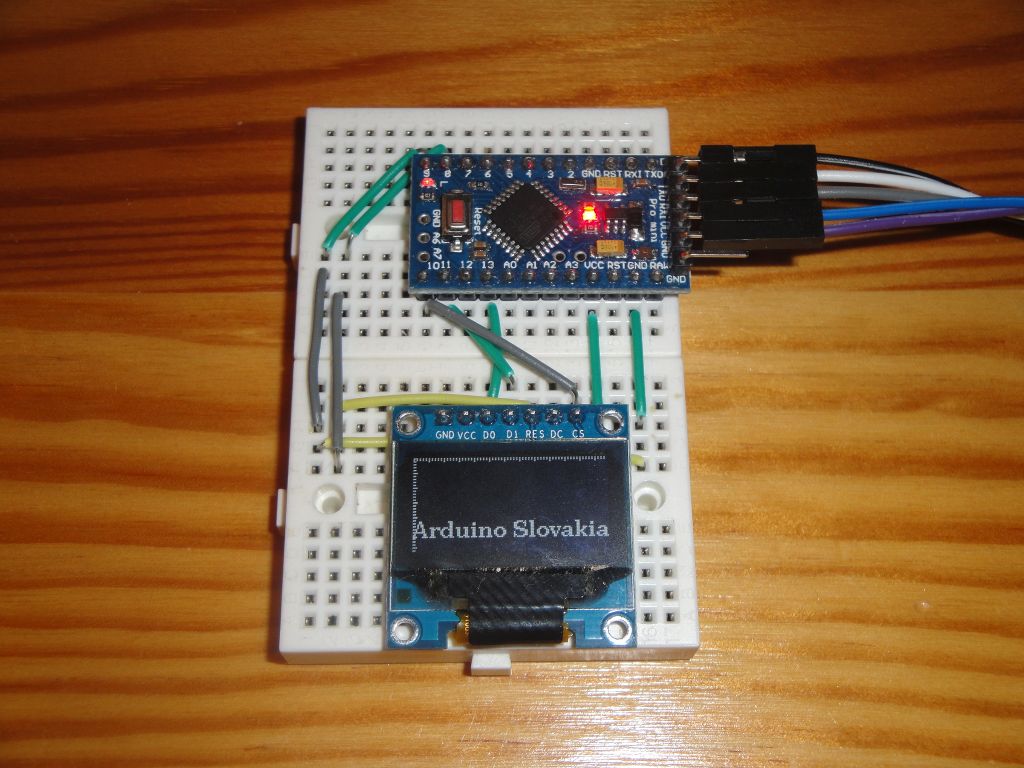
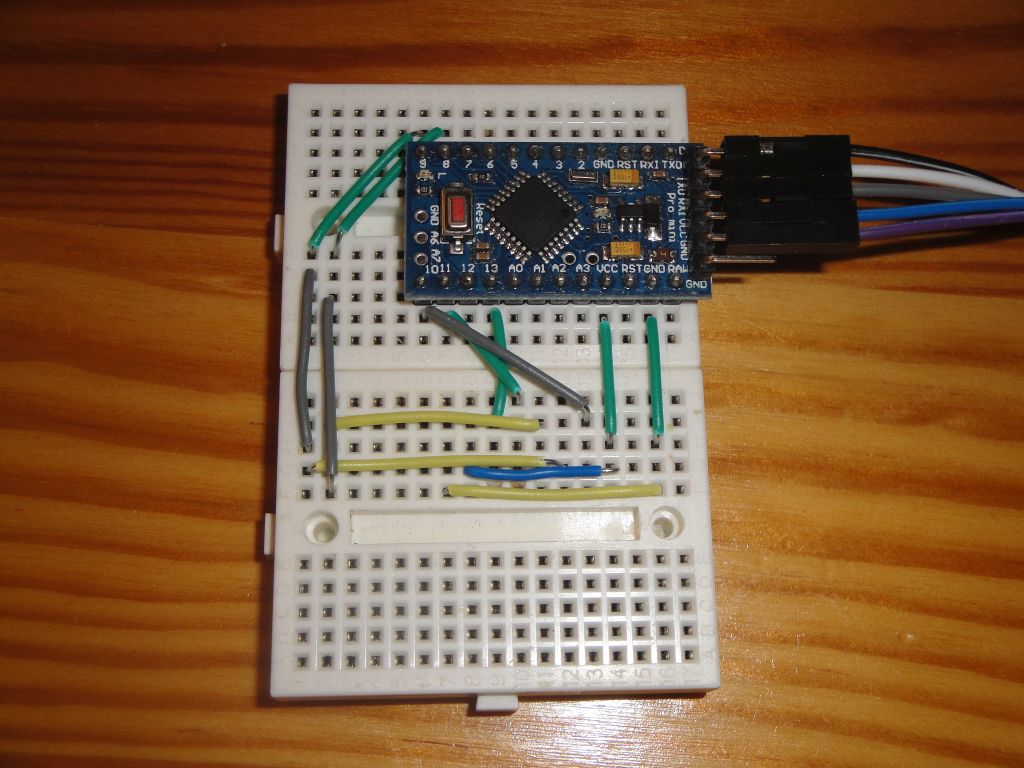
Alternative 2
This connection attempts to connect via classical data and analogue pins A1, A2, A3, 11, 13. This connection has the advantage of being all located on one side of the Arduino Pro Mini. Analog wires can be used as data, that is, in Arduino, primarily labeled as an analog is just a tag on the board.
| Arduino Pro Mini | OLED |
|---|---|
| GND | GND |
| VCC | VCC |
| 13 (CLK) | D0 |
| 11 (MOSI) | D1 |
| A1 | RES |
| A2 | DC |
| A3 | CS |
Programming
Because this connection uses hardware SPI, I used the following constructor from the U8g2 library. You install the library through a library manager.
#include <U8g2lib.h>

//U8G2_SSD1306_128X64_NONAME_1_4W_HW_SPI u8g2(U8G2_R0, /* cs=*/ 10, /* dc=*/ 9, /* reset=*/ 8);
U8G2_SSD1306_128X64_NONAME_1_4W_HW_SPI u8g2(U8G2_R0, /* cs=*/ A3, /* dc=*/ A2, /* reset=*/ A1);
Drawing is trivial, but because Arduino Pro Mini does not have so much memory, we have to draw the picture gradually. This will slightly slow the rendering, but RAM will remain for other purposes as well. If you used the Arduino Mega 2560, you could use drawing in one block (but use a different constructor).
void setup() {
  u8g2.begin();
  u8g2.setFont(u8g2_font_ncenB10_tr);
  //u8g2.setFont(u8g2_font_helvB10_tr);
}

void loop() {
  for (int i = 12; i < 64; i++) {
    drawFrame(i);
    delay(10);
  }
  for (int i = 63; i >= 12; i--) {
    drawFrame(i);
    delay(10);
  }
}

void drawFrame(int y) {
  u8g2.firstPage();
  do {

  u8g2.drawStr(0, y, "Arduino Slovakia"); // write something to the internal memory
  for (int j = 0; j <= 128; j += 2)
    u8g2.drawLine(j, 0, j, (j % 10 == 0 ? 2 : 1));
  for (int j = 0; j <= 64; j += 2)
    u8g2.drawLine(0, j, (j % 10 == 0 ? 2 : 1), j);

  } while ( u8g2.nextPage() );
}
Source code
The source code for the images is located on GitHub.
18.08.2018