LED strip dimmer - Software v. 1.1
Zápisník experimentátora
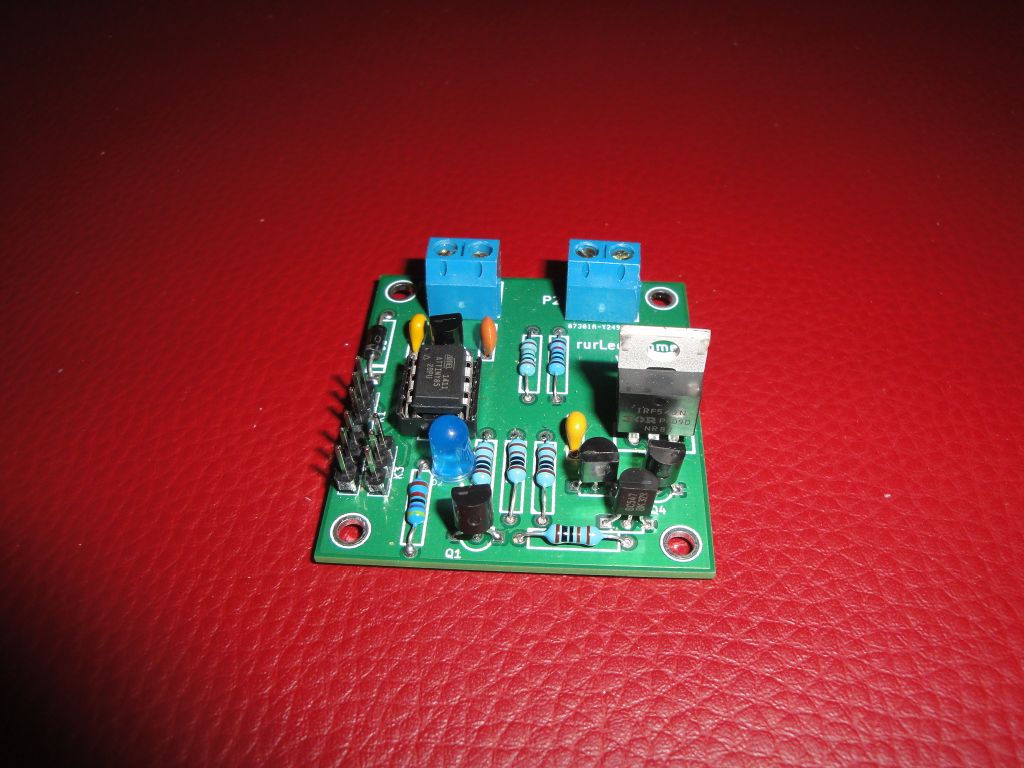
Hierarchy: Stmievač LED pásika pomocou ATtiny85
In this article I will explain the principle of LED strip dimming. This is the second of a series of articles to show you how the program progresses and how the resulting program may be diametrically different. Gradually, we will go through the source codes of the program from version 1.0 to version 1.3.
This text describes the outdated version of the code. At the time of writing the article was the current version of code 1.3. This version is being analyzed here so you can see how the program progresses with a progressive approach.
In the ideal world, you will write the ideal program right away for the first time and there will be no mistakes and will do exactly what you imagined. Now, welcome to the real world where I tried to program the dimming logic to suit kitchen work.
Arduino IDE
The code was developed for version 1.0.6 but can be easily compiled in 1.6.13 or 1.8.1. After compilation it occupies 2206 bytes (2440 with debugging enabled). You must have installed support for ATtiny85 programming.
Programming
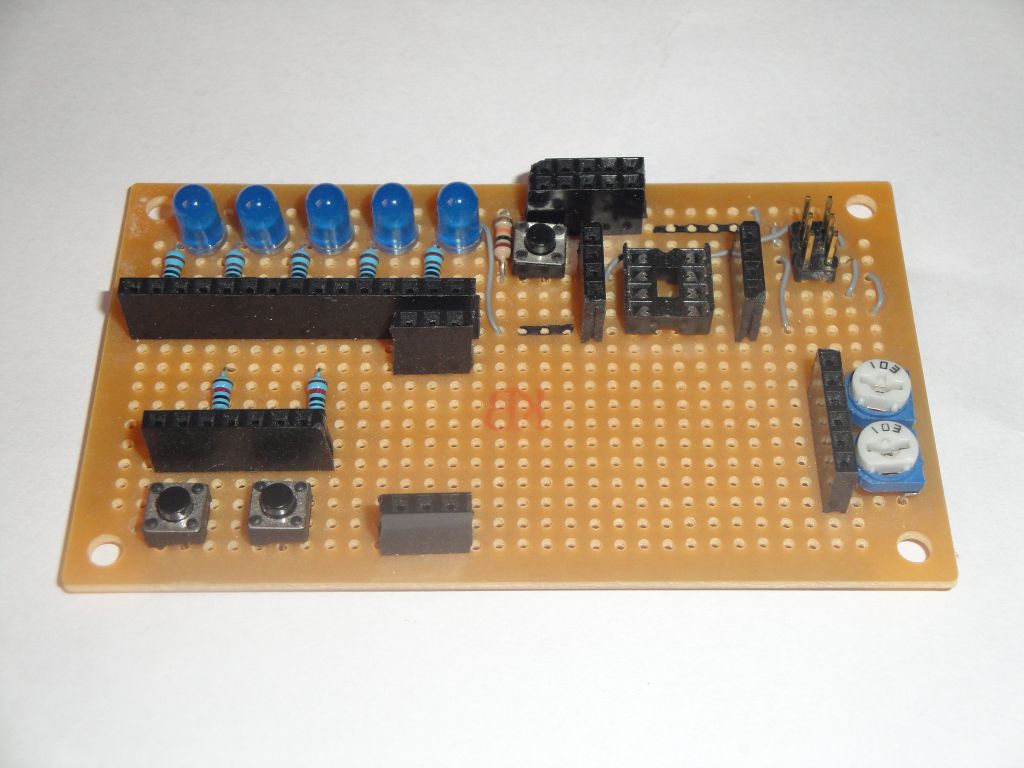
In this program, I focused on improving the core activity of the program. The whole development was realised on the development board for ATtiny85, which I already described in the previous article.
- Debugging - I've completed a simple debugging with conditional translation and LED blinking.
- Improving the response to signals from the sensor - The program is continuously on when it senses a sensor signal and the illumination time is not part of the light interval, so the light shines a little longer. When the signals stop (which is a sign that the person left the room), the light will go out after the time.
Debugging
First we describe the debugging using the LED diode. Debugging is based on the existence or absence of the RDEBUG macro. If it does not exist (the final version of the code) then pins 2 and 3 are not used at all, and all macros are defined as empty, which means that the compiler simply remove the code from the source.
If the macro is defined (the debug version of the code), the SIGNAL and SHOWIN macro functions have a functional code in it. The first one flashes briefly and the second indicates the status of the sensor. I use them in the code to see what happens in the program by flashing or status of the LED. It's still worth mentioning that during the debug I have a hold_value shortened for 15 seconds. This is for practical reasons, because during tuning there is no reason to wait dozens of seconds to turn off the lights.
#define RDEBUG

// pin definitions
const int led = 0;
const int dig = 1;
// base ON period
const unsigned long pot_value = 2000;
unsigned long dig_last;
int value = 0;
// base hold period
#if defined RDEBUG
const int dig_signal = 2;
const int dig_in = 3;
#define SIGNAL digitalWrite(dig_signal, HIGH); \
  delay(200); \
  digitalWrite(dig_signal, LOW); \
  delay(20);
#define SHOWIN(a) digitalWrite(dig_in, a);
const unsigned long hold_value = 15*1000L;
#else
#define SIGNAL
#define SHOWIN(a)
const unsigned long hold_value = 45*1000L;
#endif
Better this will be seen on a specific example. Eg during program startup in the function setup. You see that different commands are used during debugging than during the final version.
void setup() {
  pinMode(led, OUTPUT);
  pinMode(dig, INPUT);
#if defined RDEBUG
  pinMode(dig_signal, OUTPUT);
  pinMode(dig_in, OUTPUT);
  SIGNAL
  digitalWrite(dig_in, HIGH);
  digitalWrite(led, HIGH);
  delay(200);
  digitalWrite(led, LOW);
  delay(200);
  digitalWrite(led, HIGH);
  delay(200);
  digitalWrite(led, LOW);
  delay(200);
  digitalWrite(led, HIGH);
  delay(200);
  digitalWrite(led, LOW);
  digitalWrite(dig_in, LOW);
  SIGNAL
#else
  digitalWrite(led, HIGH);
  delay(200);
  digitalWrite(led, LOW);
  delay(200);
  digitalWrite(led, HIGH);
  delay(200);
  digitalWrite(led, LOW);
#endif
}
Improving the response to the sensor
How is an improved sensor response? After lighting, the full length of the interval is set. Previously, the light was counted in the length of the interval, and it lit somewhat shorter.
void loop() {
  int p=digitalRead(dig);
  SHOWIN(p)
  if(p) {
    LightOn();
    SIGNAL
    dig_last=millis()+hold_value;
    LightHold();
    SIGNAL
    LightOff();
  }
}
The rest of the changes are just minor improvements that adjust the specific lengths of each program state.
Source code
The source code is located on GitHub.
25.01.2018