ESP8266 - Store passwords using WiFiManager
Zápisník experimentátora
Hierarchy: ESP8266
Today we will be devoted to an interesting library that allows us to store a WiFi password. This allows you to use one program for all of your ESP8266. You do not have a password in it. Only when you get your ESP8266 to your destination, turn it on and configure it using your mobile phone (or laptop).
It sounds magic, but there is no magic. Only funny use of ESP8266 options. It can create WiFi access points as needed and can create an HTTP server and a DNS server. With these tools, the user can see the configuration page and save the data from it to his flash memory. The following attempt attempts to reuse this data. If this fails, you can reset the WiFi connection again.
Used parts
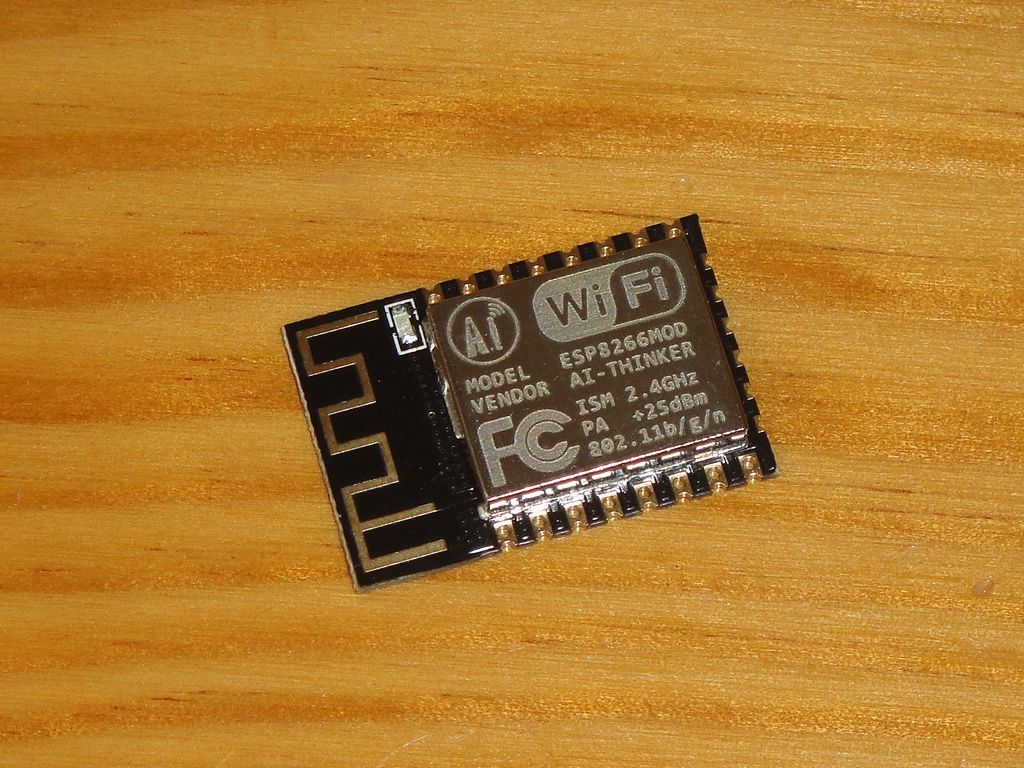
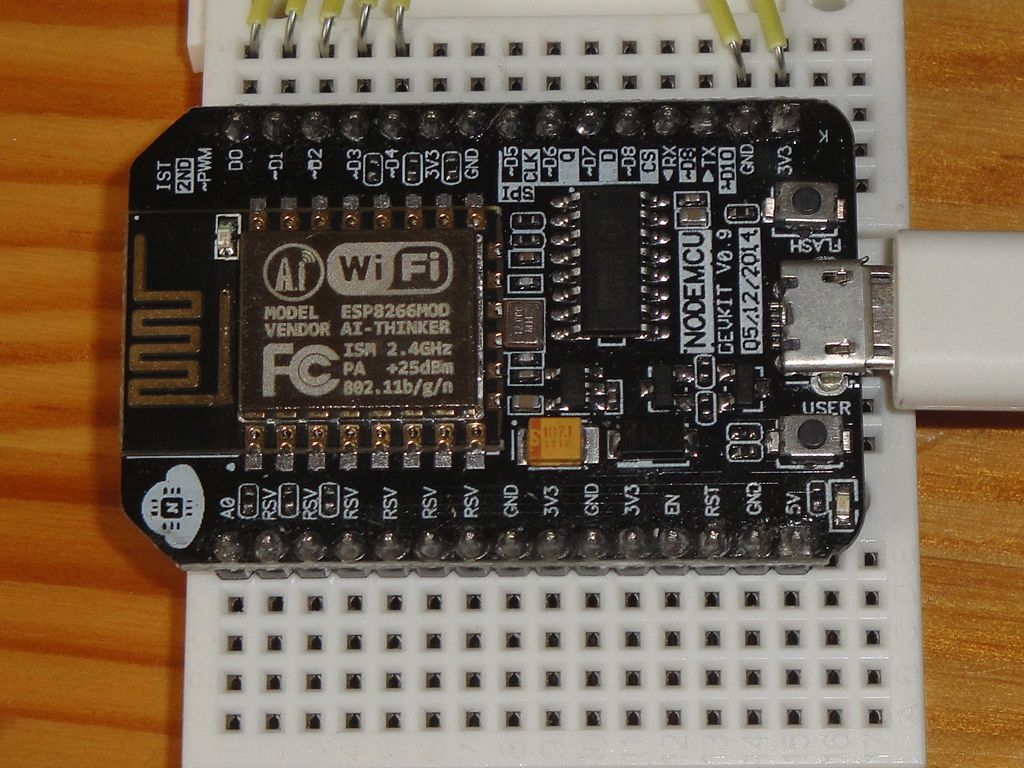
I have taken advantage of NodeMCU (v. 0.9), but the same results would be achieved with any board on which ESP8266 is.
WiFiManager
You can install the WiFiManager library with a library manager. At the time of writing the article, the current version of the library was 0.12. Together with the library, several sample examples are installed. It is advisable to become familiar with the examples.
When using the library, you should not be surprised if you have previously connected to WiFi on your ESP8266 that the library will automatically connect to the Internet without setting anything up. The library can use your last connection and use this data.
View the configuration portal
Let's start with an example of a configuration portal. We will not deal with security in this example and open the portal without a password. We only use this example to see exactly how the configuration works.
#include <ESP8266WiFi.h>
#include <DNSServer.h>
#include <ESP8266WebServer.h>
#include <WiFiManager.h>

void setup() {
  Serial.begin(115200);

  WiFiManager wifiManager;
  wifiManager.startConfigPortal("ArduinoAP");

  //if you get here you have connected to the WiFi
  Serial.println("connected...");
}

void loop() {
}
After uploading the program to ESP8266, a WiFi connection point with the ArduinoAP name will be created automatically. Use your cellphone to connect to this point. Then open your Internet browser on your mobile and open any page on it. Just type any word, and ESP8266 will automatically redirect you to its home page with the DNS server.
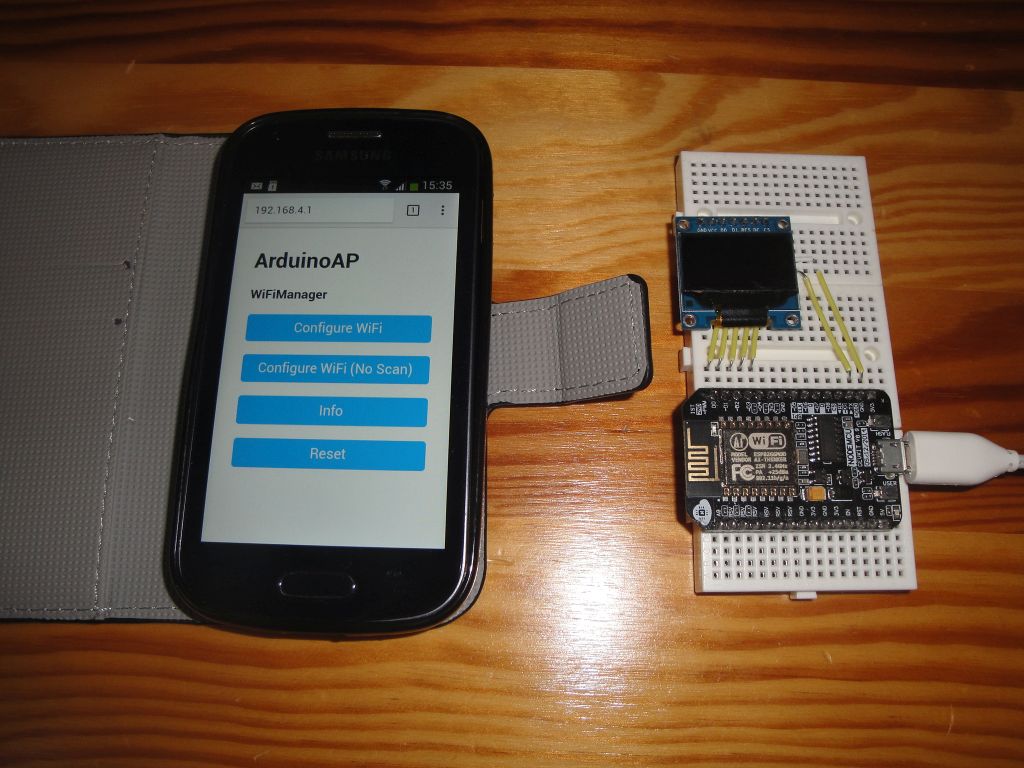
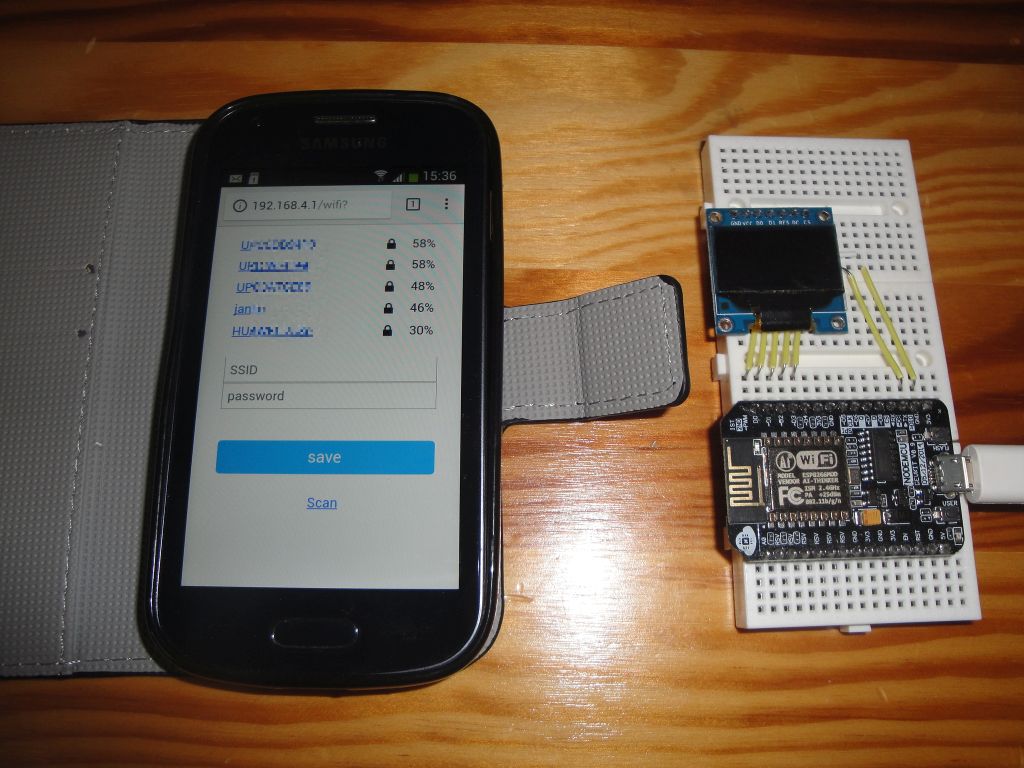
You select the first option and a list of available WiFi is displayed. You select one of them, enter an access password, and save the configuration. From now on, ESP8266 will automatically be able to connect. However, it is better to use one of the following programs.
Automatically connect to WiFi
The simplest way to connect is the following example. It automatically tries to connect, and if it does not, it will create a configuration portal.
#include <ESP8266WiFi.h>
#include <DNSServer.h>
#include <ESP8266WebServer.h>
#include <WiFiManager.h>

void setup() {
  Serial.begin(115200);

  WiFiManager wifiManager;
  wifiManager.autoConnect("ArduinoAP");

  //if you get here you have connected to the WiFi
  Serial.println("connected...");
}

void loop() {
}
Configuration portal after pushing the button
I like this kind of use very much. The configuration portal will appear only when the button is pressed. I also added the use of an access password in the example.
#include <ESP8266WiFi.h>
#include <DNSServer.h>
#include <ESP8266WebServer.h>
#include <WiFiManager.h>

#define TRIGGER_PIN 0

void setup() {
  Serial.begin(115200);
  pinMode(TRIGGER_PIN, INPUT_PULLUP);
}

void loop() {
  if(digitalRead(TRIGGER_PIN) == LOW) {
    WiFiManager wifiManager;

    if(!wifiManager.startConfigPortal("ArduinoAP","secret_password") {
      Serial.println("failed to connect and hit timeout");
      delay(3000);
      //reset and try again
      ESP.reset();
      delay(5000);
    }
    Serial.println("connected...");
  }
}
Source code
The source code is located on the GitHub server.
23.07.2017