ESP8266 - HTTP server and DS18B20 temperature sensor
Zápisník experimentátora
Hierarchy: ESP8266
In previous articles we learned how to create HTTP server using microcontroller ESP8266. So far, we've displayed static pages. Gradually, we learned to show pages that were in the source code of the program or were stored in the SPIFFS file system. Today we move a little further. We replace the static page with a dynamic page that displays temperature. Temperature will be measured using the integrated circuit DS18B20.
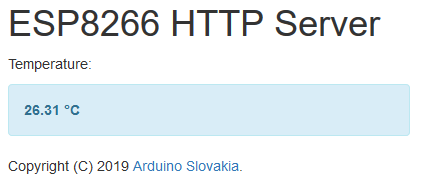
The ESP8266 microcontroller has a program that displays a single page. The page shows the current room temperature. The HTML of the page is created using the Bootstrap library, which ensures responsive design. The page displays two states:
- Measured room temperature.
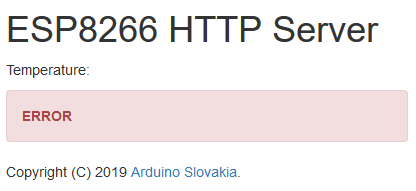
- Or an error message if the DS18B20 temperature sensor could not be found.
The program works by downloading the HTML page template from the SPIFFS file system and inside template replace variable with the actual temperature. It then sends the resulting page to a browser. This is one possible way to create a browser result page. If you only need to view the measured temperature in your browser from time to time, and don't worry about transmitting too much information every time you refresh a page that never changes, then this is the way to do it. In the sequel to this series we will show that it can be done differently and how to separate graphics from the data transmitted.
Components list
We will need the following parts:
- ESP8266 {linkESP8266}
- Breadboard {linkBreadboard}
- DS18B20 {linkDS18B20}
- Resistor 4k7 {linkR}
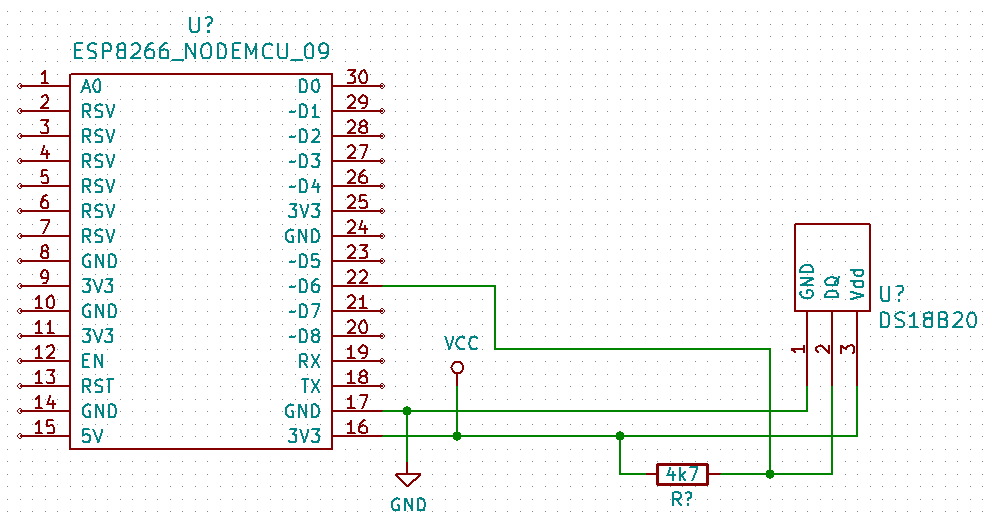
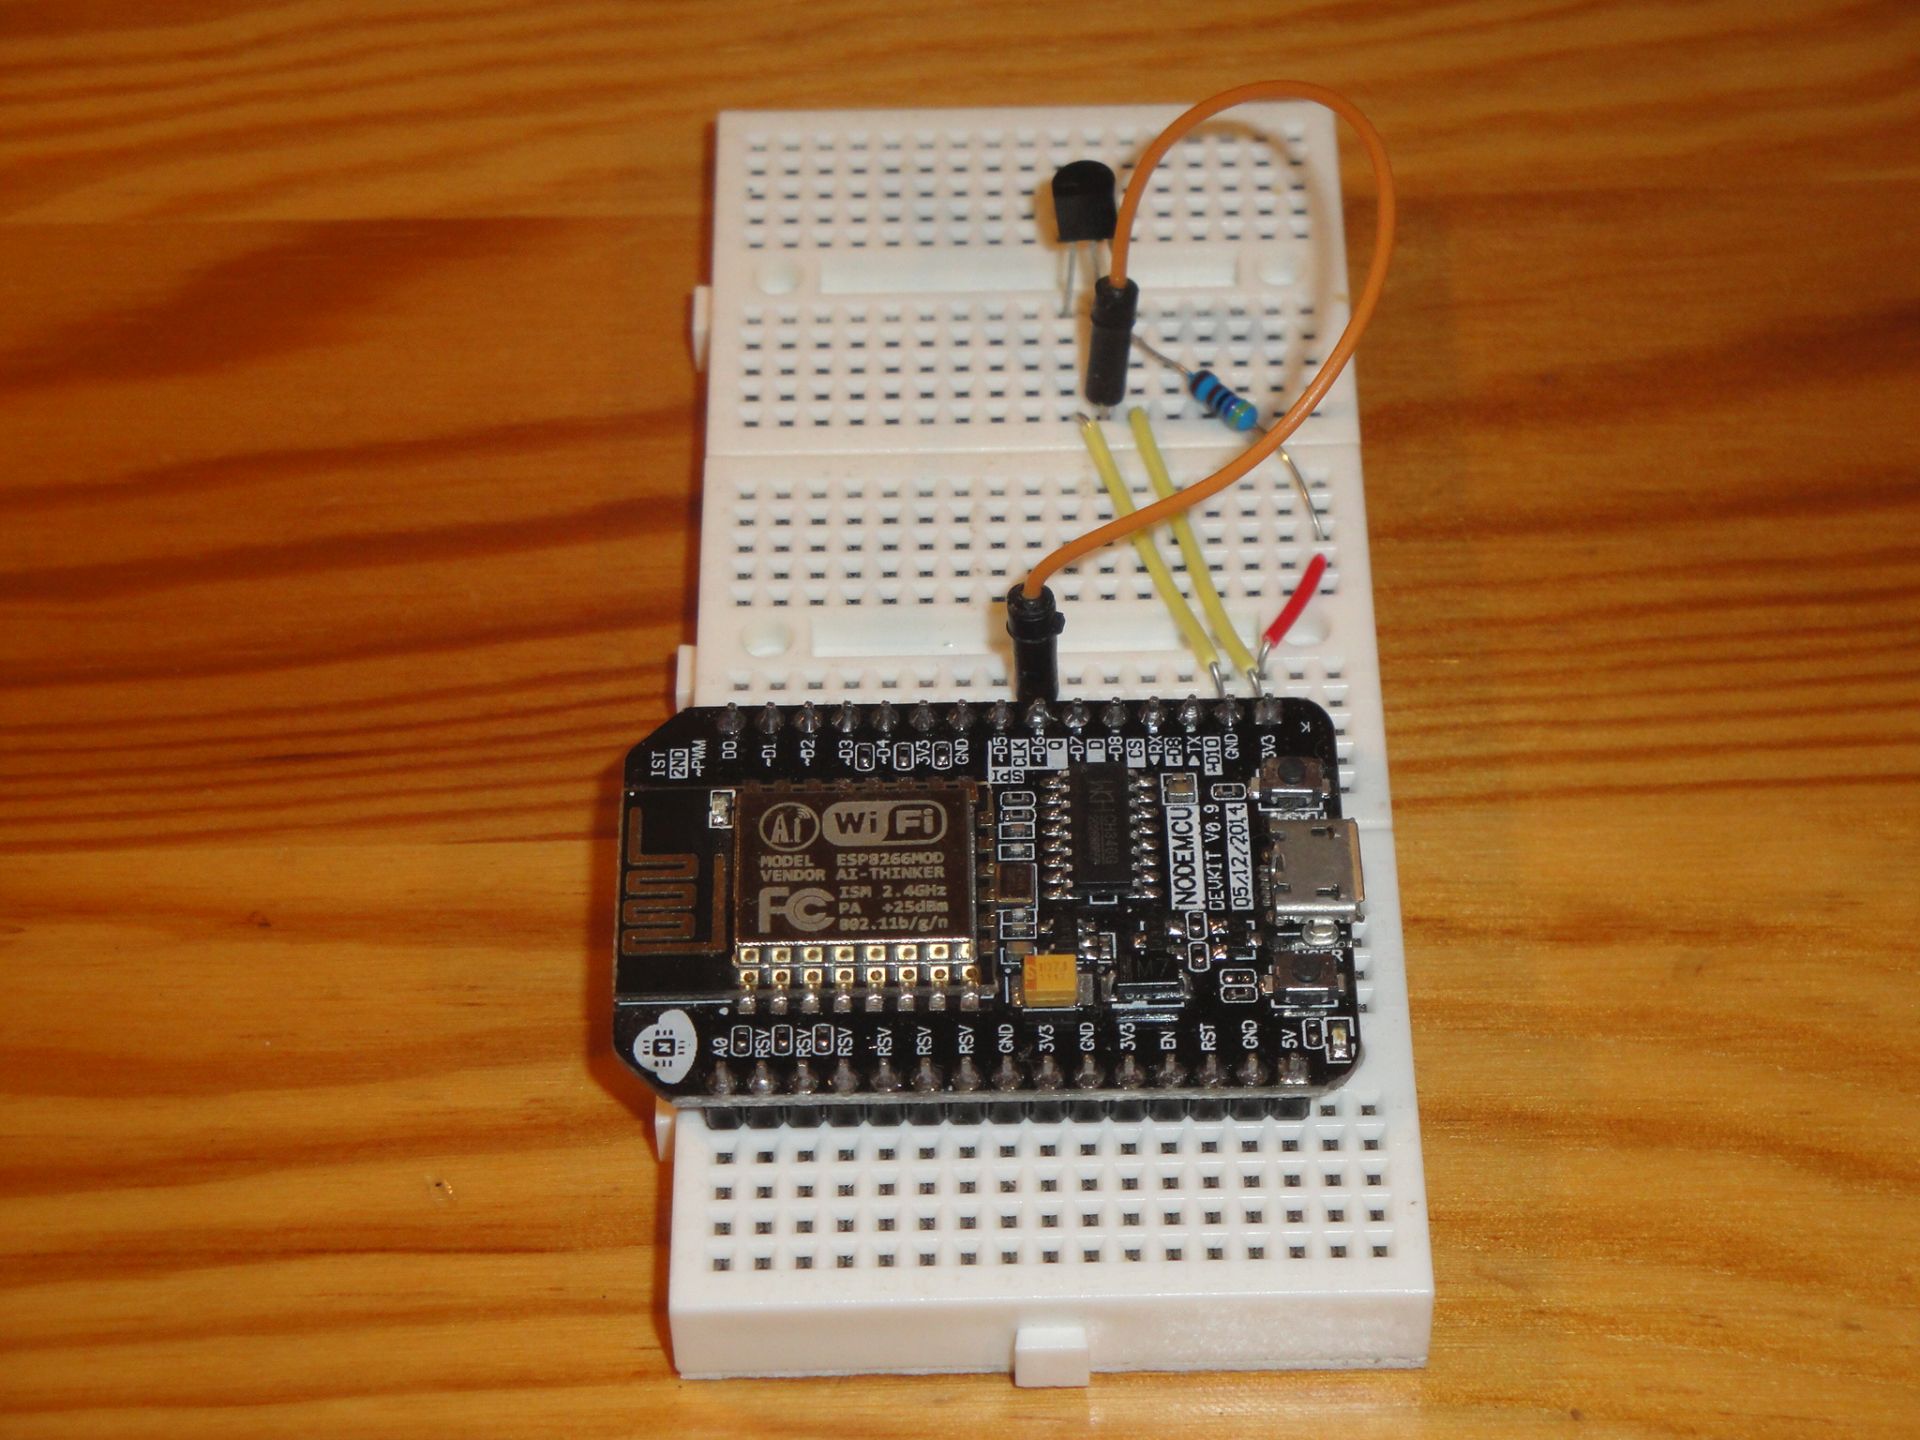
The components are wired according to this diagram. A pull-up resistor must be connected to pin D6. The temperature sensor is normally connected to GND and 3.3V. If you have original temperature sensors, you can also connect it in a parasitic power supply mode.
Example
This example will only work if you download the source code from GitHub and transfer the contents of the data directory to SPIFFS using the Tools/ESP8266 Sketch Data Upload command.
HTML
The HTML page template is in the index.html file. It's simple code for responsive design using the Bootstrap library. Only the {TEMPERATURE} variable, which is replaced by the measured temperature in the resulting page, is important.
<html>

<head>
    <meta http-equiv="content-type" content="text/html;charset=UTF-8">
    <meta name="viewport" content="width=device-width, initial-scale=1">
    <link rel="stylesheet" href="https://maxcdn.bootstrapcdn.com/bootstrap/3.4.1/css/bootstrap.min.css">
    <script src="https://ajax.googleapis.com/ajax/libs/jquery/3.3.1/jquery.min.js"></script>
    <script src="https://maxcdn.bootstrapcdn.com/bootstrap/3.4.1/js/bootstrap.min.js"></script>
    <link rel="icon" type="image/png" href="favicon.png">
    <title>HTTP Server ESP8266 - DS18B20</title>
</head>

<body>
    <div class="container">
        <h1>ESP8266 HTTP Server</h1>
        <p>Temperature: <b>{TEMPERATURE}</b></p>

        <p>Copyright (C) 2019 <a href="https://www.arduinoslovakia.eu">Arduino Slovakia</a>.</p>
    </div>
</body>

</html>
C++
This is the source code of the program. The program is based on an HTTP server that listens on port 80. The temperature is measured using a DS18B20 temperature sensor. The libraries used can be divided into two groups.
- ESP8266WiFi, ESP8266WebServer, FS - These libraries are installed with ESP8266.
- OneWire, DallasTemperature - These libraries are used to measure temperature. Both can be installed using the Library manager. Hypertexts for each library's source code can be found in the source code of the program that you download from GitHub.
Because the program results in a single page, it is created by the handleRoot function in the program. But this page actually consists of two parts. One is the generated HTML code itself. The second is a small icon that appears on a bookmark in your browser. The icon is a small PNG file favicon.png that is linked to in the HTML source code of the page. The browser will request this image and since we do not need to make any adjustments to it, we can statically provide it directly from SPIFFS.
The handleRoot function first verifies that the index.html file is stored in SPIFFS. Then it saves the contents of the file to the variable body. The following is a temperature measurement that can have two results.
- If the temperature sensor is wrongly connected, the program cannot find it and will generate an error message.
- If a temperature sensor exists, a temperature text string is generated.
The result is replaced in the HTML page template instead of the text {TEMPERATURE}. Bootstrap CSS alert-danger and alert-info styles are used to make the result look good.
#include <ESP8266WiFi.h>
#include <ESP8266WebServer.h>
#include <FS.h>
#include "arduino_secret.h"
#include <OneWire.h>
#include <DallasTemperature.h>

#define ONE_WIRE_BUS D6

OneWire oneWire(ONE_WIRE_BUS);
DallasTemperature sensors(&oneWire);

ESP8266WebServer server(80);

void handleRoot() {
  Serial.println("GET /");
  File f = SPIFFS.open("/index.html", "r");
  if (!f) {
    Serial.println("File '/index.html' open failed.");
    server.send(500, "text/plain", "500: File '/index.html' open failed.");
  }
  else {
    String body = f.readString();
    if (sensors.getDS18Count() == 0) {
      body.replace("{TEMPERATURE}", "<div class=\"alert alert-danger\">ERROR</div>");
    }
    else {
      sensors.requestTemperatures();
      double temp = sensors.getTempCByIndex(0);
      Serial.println(temp);
      String tempt = "<div class=\"alert alert-info\">" + String(temp) + " °C</div>";
      body.replace("{TEMPERATURE}", tempt);
    }
    server.send(200, "text/html", body);
    f.close();

  }
}

void setup(void) {
  Serial.begin(115200);
  WiFi.begin(ssid, password);
  Serial.println("");

  // Wait for connection
  while (WiFi.status() != WL_CONNECTED) {
    delay(500);
    Serial.print(".");
  }
  Serial.println("");
  Serial.print("Connected to ");
  Serial.println(ssid);
  Serial.print("IP address: ");
  Serial.println(WiFi.localIP());

  sensors.begin();
  SPIFFS.begin();

  server.serveStatic("/favicon.png", SPIFFS, "/favicon.png");
  server.on("/", handleRoot);

  server.onNotFound([]() {
    server.send(404, "text/plain", "404: Not Found");
  });

  server.begin();
  Serial.println("HTTP server started");
}

void loop(void) {
  server.handleClient();
}
Source code
The source code is located on the GitHub server.
Video
14.08.2019