433 MHz radio modules using the RadioHead library
Zápisník experimentátora
Today, we continue to follow the previous article. We will work with radio modules using the RadioHead library. We will again use a pair of transmitter and receiver, which communicates at 433 MHz. Today's code will behave the same way but, according to my experience, it is not possible to combine VirtualWire and RadioHead. For the future, I will only be talking about RadioHead, because it is recommended by the author himself and I feel that this new library is more sophisticated.
Purchase of parts
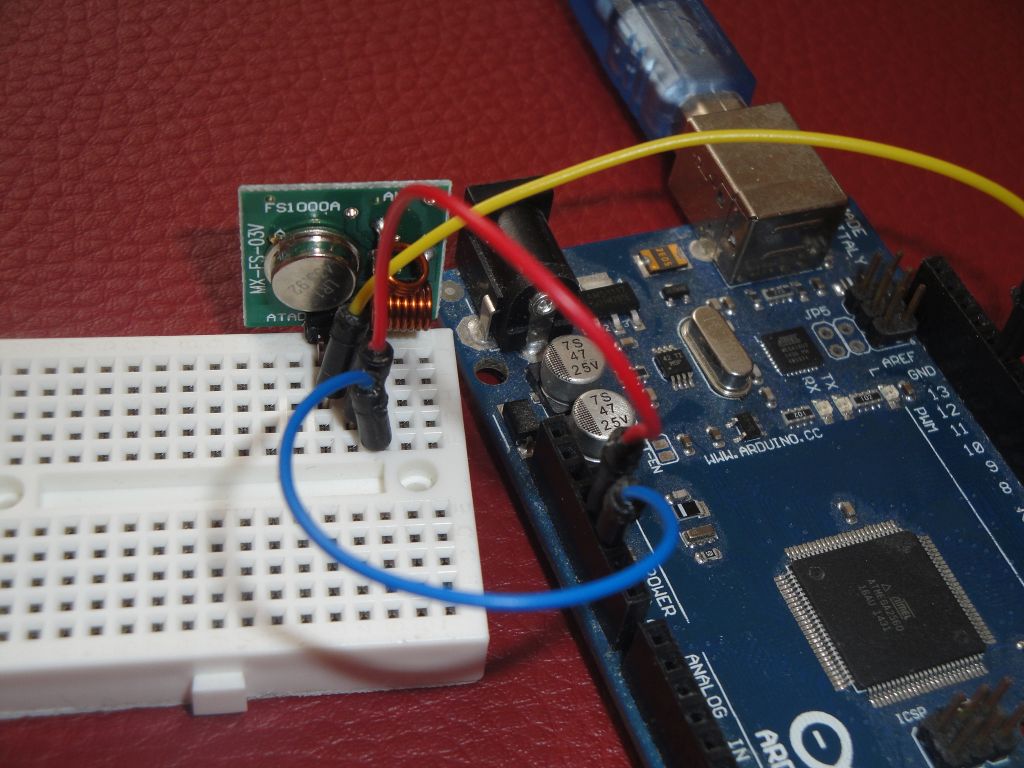
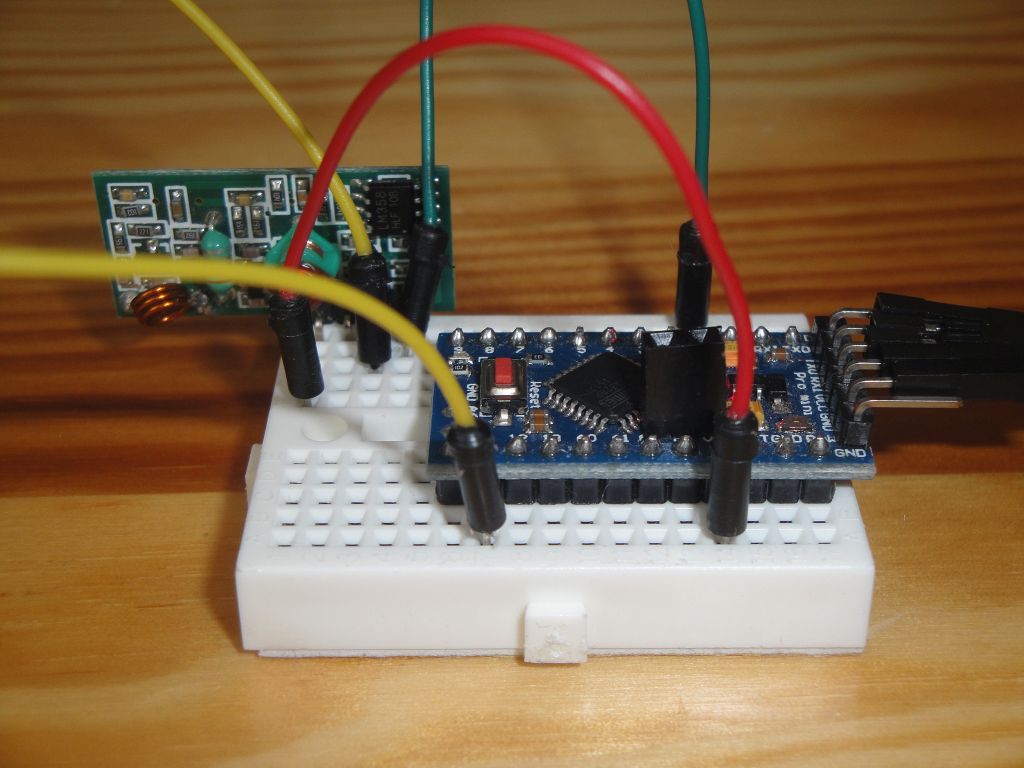
Arduino Pro Mini and Arduino Mega are used in the photos. It does not limit you, you can use any Arduino.
- Arduino Pro Mini (link) - I used this Arduino as a receiver.
- Arduino Mega (link) - I used this Arduino as a transmitter.
- Mini Breadboard (link) - I plugged the radio modules into this breadboard.
- Radio modules (link) - 433 MHz radio modules are usually sold in pairs. Although they have different designations, they seem to be virtually identical. They have the following names: XD-RF-5V, MX-JS-05V, XD-FST, MX-FS-03v, XY-MK-5V, FS1000A. Radio modules are sold without an antenna. This has a great impact on the broadcast range. If you want to transmit even more meters, you must attach the antenna to both modules.
Antenna length
Here the data differs slightly on the Internet, but it is usually 17.5 cm (alternatively 15 cm). This length must not be strictly observed in amateur conditions. Basically, every piece of wire you attach will significantly improve the properties of the transmitter.
RadioHead
You do not find this library in your library manager and you need to install it from a zip file. The library home page is http://www.airspayce.com/mikem/arduino/RadioHead/index.html. Install it in the [username]\documents\arduino\libraries\radiohead directory. The library is designed to control multiple modules. Therefore, it should be remembered that for these 433 MHz modules it is necessary to use the RH_ASK class.
Program (sketch)
These two simple programs communicate together. The first sends incrementing numbers to easily check connection failures, and the second program receives these numbers and displays them on the serial port. You see in the statement how many characters were received and what is the difference with the previous message. If there is a difference of 1, then there was no outage. If the number is bigger, then so many messages have gone out. Then it's easy to manipulate both Arduinos and watch what happened.
There is a shift to c++ in the RadioHead library. Everything is programmed as a class and you call their functions. Since the RadioHead library is designed for a large number of radio modules, it is important to remember that the RH_ASK.H header file is used for the cheapest modules.
Transmitter
The data pin is connected to pin 12 in Arduino. If this does not suit you, you can change it with the parameter in the constructor of the driver object.
#include <RH_ASK.h>

RH_ASK driver;
char buffer[10];
int idx = 0;

void setup()
{
  Serial.begin(9600);   // Debugging only
  if (!driver.init())
    Serial.println("init failed");
}

void loop()
{
  sprintf(buffer, "%d", idx);
  idx++;

  driver.send((uint8_t *)buffer, strlen(buffer));
  driver.waitPacketSent();
  delay(200);
}
Receiver
The data pin is connected to pin 11 in Arduine. If this does not suit you, you can change it with the parameter in the constructor of the driver object.
#include <RH_ASK.h>

RH_ASK driver;
int last_idx = 0;

void setup()
{
  Serial.begin(9600); // Debugging only
  if (!driver.init())
    Serial.println("init failed");
}

void loop()
{
  uint8_t buf[RH_ASK_MAX_MESSAGE_LEN];
  uint8_t buflen = sizeof(buf);

  if (driver.recv(buf, &buflen)) // Non-blocking
  {
    // Message with a good checksum received, dump it.
    buf[buflen]=0;
    Serial.print("Received(");
    Serial.print(buflen);
    Serial.print(",");
    int idx=atoi(buf);
    Serial.print(idx>last_idx ? "+" : "-");
    Serial.print(idx-last_idx);
    last_idx=idx;
    Serial.print("}: ");
    driver.printBuffer(buf, buf, buflen);
  }
}
Source code
The source code is located on the GitHub server.
- https://github.com/RoboUlbricht/arduinoslovakia/tree/master/433/radiohead/transmitter01
- https://github.com/RoboUlbricht/arduinoslovakia/tree/master/433/radiohead/transmitter01
14.07.2017