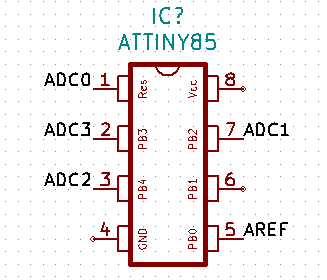
ATtiny85 - A/D converter
Zápisník experimentátora
Hierarchy: ATtiny85
In this article we will discuss A/D converter in microcontroller ATtiny85. We will build on previous articles in which we described the A/D converter in Arduino Uno. In this article, we will show the basic use of the converter and we will identify differences. We will discuss the differences in detail in one of the future articles.
ATtiny85 has a similar converter as Arduino Uno (with ATmega328P microcontroller). It has several interesting differences.
- It uses different registers to set the A/D conversion.
- It has an operational amplifier and a differential input.
- It has only a few analog inputs.
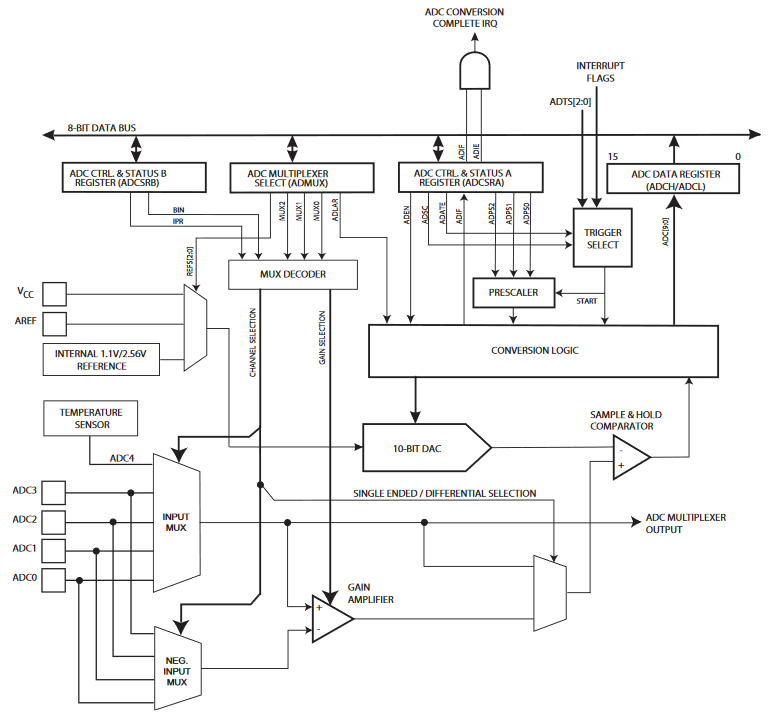
In normal use, however, it does not differ from Arduino.
- The function analogRead is used to read the analog value.
- To set the reference voltage is used the function analogReference.
If we use the core ATTinyCore, then we can use the reference voltage as follows:
- DEFAULT: Vcc
- EXTERNAL: Voltage applied to AREF pin (pin 5)
- INTERNAL1V1: Internal 1.1 V reference
- INTERNAL: Synonym for INTERNAL1V1
- INTERNAL2V56: Internal 2.56 V reference, with external bypass capacitor
- INTERNAL2V56_NO_CAP: Internal 2.56 V reference, without external bypass capacitor
- INTERNAL2V56NOBP: Synonym for INTERNAL2V56_NO_CAP
Examples
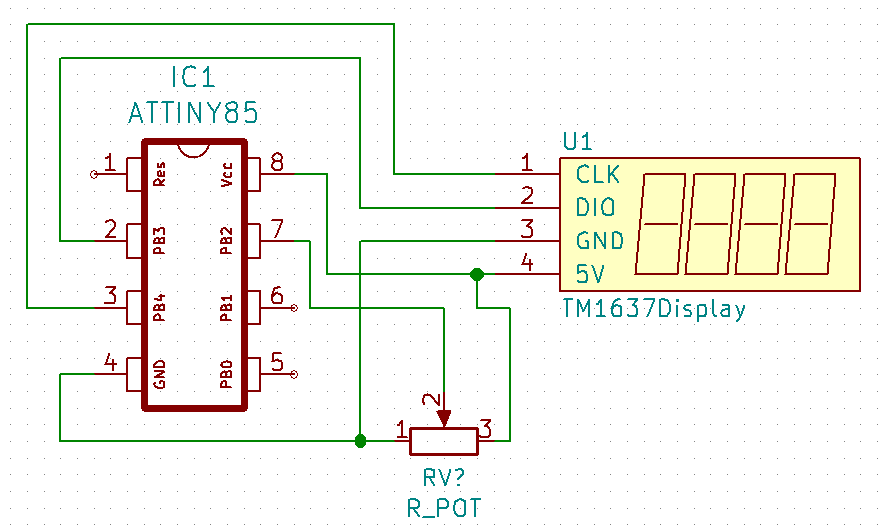
To display the measured results, we will use a simple TM1637 display that suits it. We need two pins to control it, and we need another pin for an analogue measurement. This is the pin 7 on which this analog input is located. You see, according to the schematic, that one potentiometer will be sufficient for the basic measurement. The TM1637 display was described in the article ATtiny85 and the TM1637 display. I wrote two examples.
- Measurement without conversion to volts.
- Measurement with conversion to volts.
Example 1 - without conversion to volts
Example does not need a comment. The measured analog value is displayed with the function showNumberDec. The measured value is in the range 0-1023.
#include <TM1637Display.h>

// Module connection pins (Digital Pins)
#define CLK 4
#define DIO 3

int adc1 = 0;

TM1637Display display(CLK, DIO);

void setup() {
  display.setBrightness(0x02);
}

void loop() {
  adc1 = analogRead(1);
  display.showNumberDec(adc1, false);
  delay(200);
}
Example 2 - with conversion to volts
When converting the measured value to volts, we must work in an integer arithmetic because the display actually shows a number in the range 0-9999. And the decimal point is just specified with the function showNumberDecEx in the second parameter. To achieve integer arithmetic, multiply the result by 100.
#include <TM1637Display.h>

// Module connection pins (Digital Pins)
#define CLK 4
#define DIO 3

long adc1 = 0;

TM1637Display display(CLK, DIO);

void setup() {
  display.setBrightness(0x02);
}

void loop() {
  // ADC = ADC1 * 5 V / 1023 (0-5 V)
  // ADC = ADC * 100 {2 decimal places)
  adc1 = analogRead(1) * 500L / 1023;

  // value, decimal dot, no leading zeros
  display.showNumberDecEx(adc1, 0b01000000, false);
  delay(200);
}
Source code
The source code is located on the GitHub server.
Video
The video is located on YouTube.
Video
26.12.2018